My preferred method for delayering chips is wet etching in dilute hydrofluoric acid (HF), commonly available in grocery stores as Whink brand rust remover:
 |
| ~2% technical grade HF from Price Chopper |
As the
MSDS makes quite clear, this stuff is not something you want to splash on your hands (or skin in general). While it's extremely dilute compared to the 45% concentrated solution used in some laboratories, I've been through the HF safety talk at my school's cleanroom enough times that I'd rather not take chances.
I have a pair of Norfoil (Silver Shield) gloves around that I use for this kind of work. They're rather stiff so a common practice to improve dexterity is to double-glove with an XL nitrile glove over the Norfoil. When combined with a lab coat, splash goggles, and a face shield there's little chance of anything getting through. (EDIT: A fume hood is significantly safer; at the time of this post I didn't have one so I just tried to work with the smallest volume possible. I do now and wouldn't repeat the experiment outside it.)
|
 | | |
| Nitrile outer glove (blue) over Norfoil glove (silver), tucked into sleeve of Tyvek lab coat (white) | | | | | | |
 |
| My standard lab PPE |
Before getting dressed I placed a 10 ml beaker of distilled water on my hot plate and preheated it to a warm but not boiling temperature (exact temp isn't critical).
The next step is to pour a bit under 1 ml of the HF solution into a plastic test tube. HF will eat glass so using glass labware with it isn't a good idea!
 |
| HF solution in the test tube |
Drop the die into the tube, cap it, and place it in the water bath. Etch rate depends on temperature, strength of the acid (Whink's strength isn't precisely controlled and I often will re-use the acid several times) and a few other factors so it's difficult to accurately predict. I usually will etch for 30 seconds at a time on modern planarized processes and 60-90 seconds on a large non-planarized chip.
 |
| Sample etching in the water bath |
When the time is up, remove the tube from the heat and suction the HF with a pipette. The acid can usually be re-used for many etches, though it does get weaker over time. Drop the die into a beaker of acetone to remove any acid residue.
Remove the sample from the acetone using solvent-resistant plastic tweezers. (Many common plastics, such as polycarbonate, will dissolve into the acetone and contaminate your sample. Metal tweezers have a nasty habit of chipping edges of dies.)
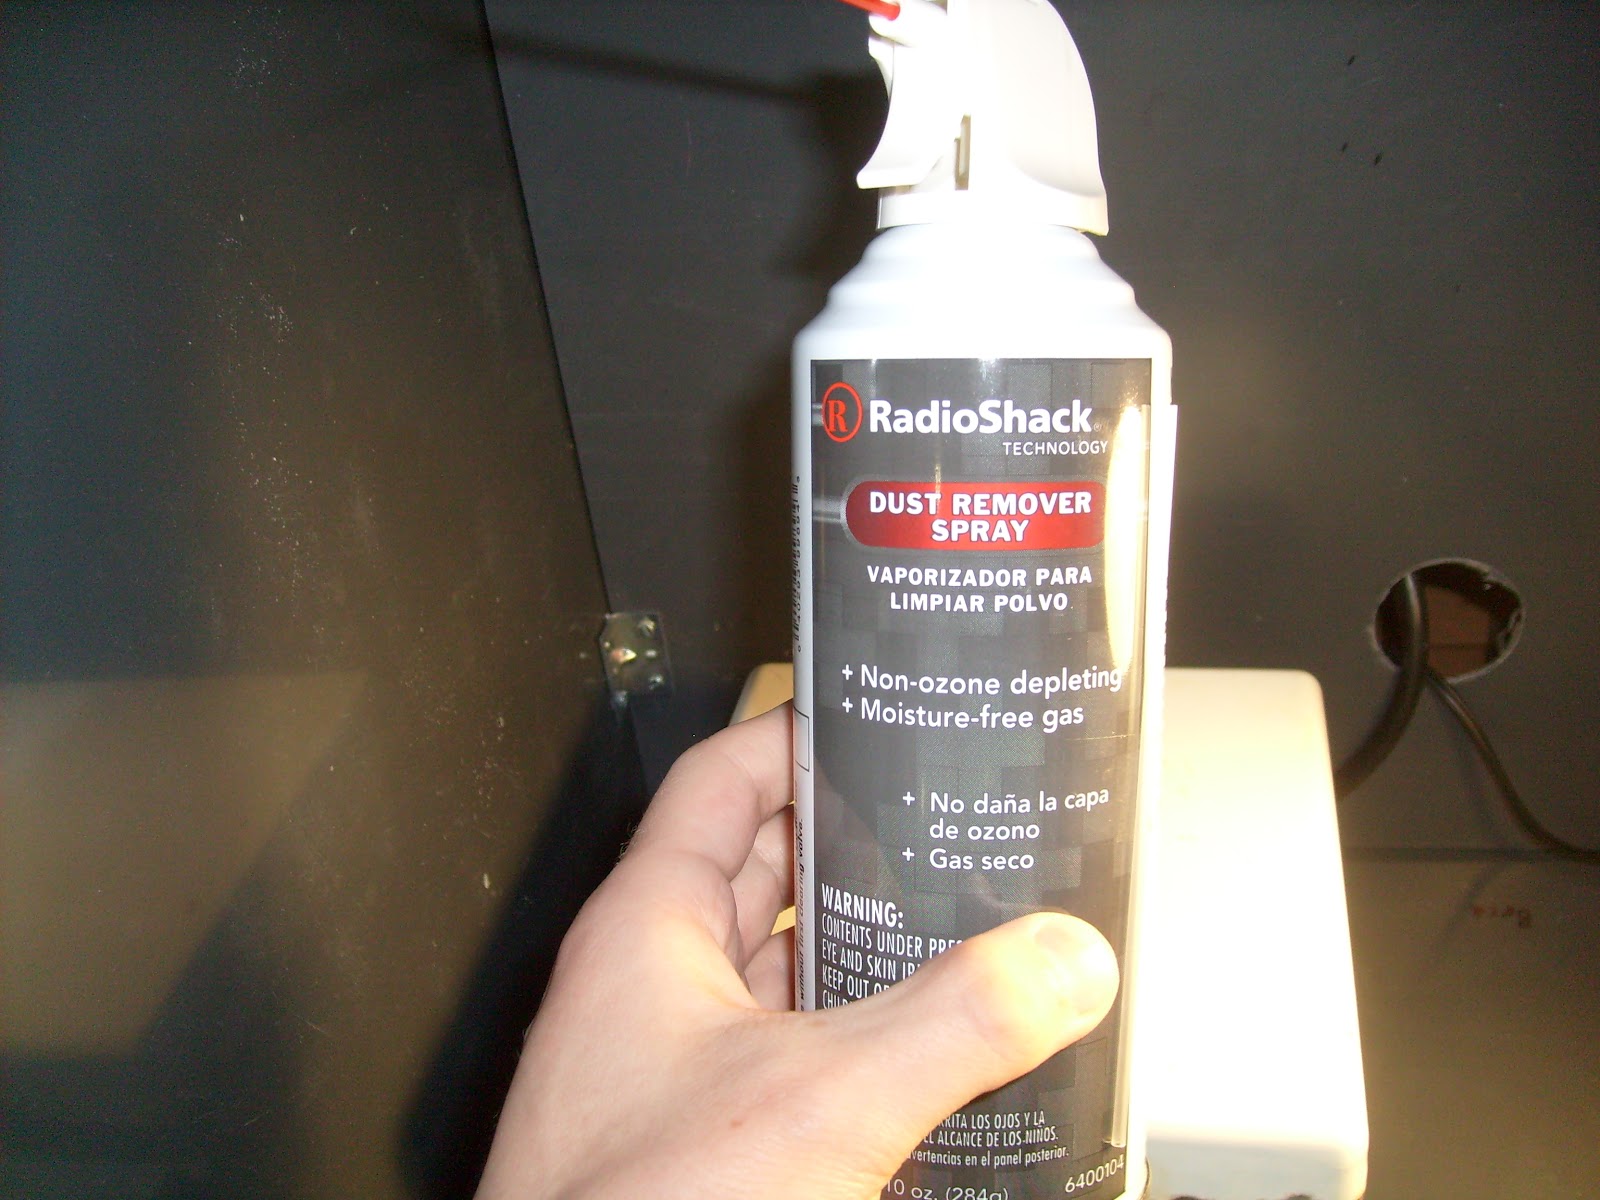
Rapidly blow-dry the sample, holding it down with tweezers so it doesn't go flying. I used a can of R-134 duster spray. (If you let the solvent evaporate slowly large crystals can form from dissolved materials.)
 |
| Drying the sample |
Image the die under a microscope to see if you've etched far enough. (The die I used in this demonstration was actually a bit over-etched as I paid more attention to camera angles than etch timing!)
The other main delayering method I plan to explore is CMP with colloidal silica. At the moment MTI is sold out, but when a new shipment arrives expect a post on CMP!